
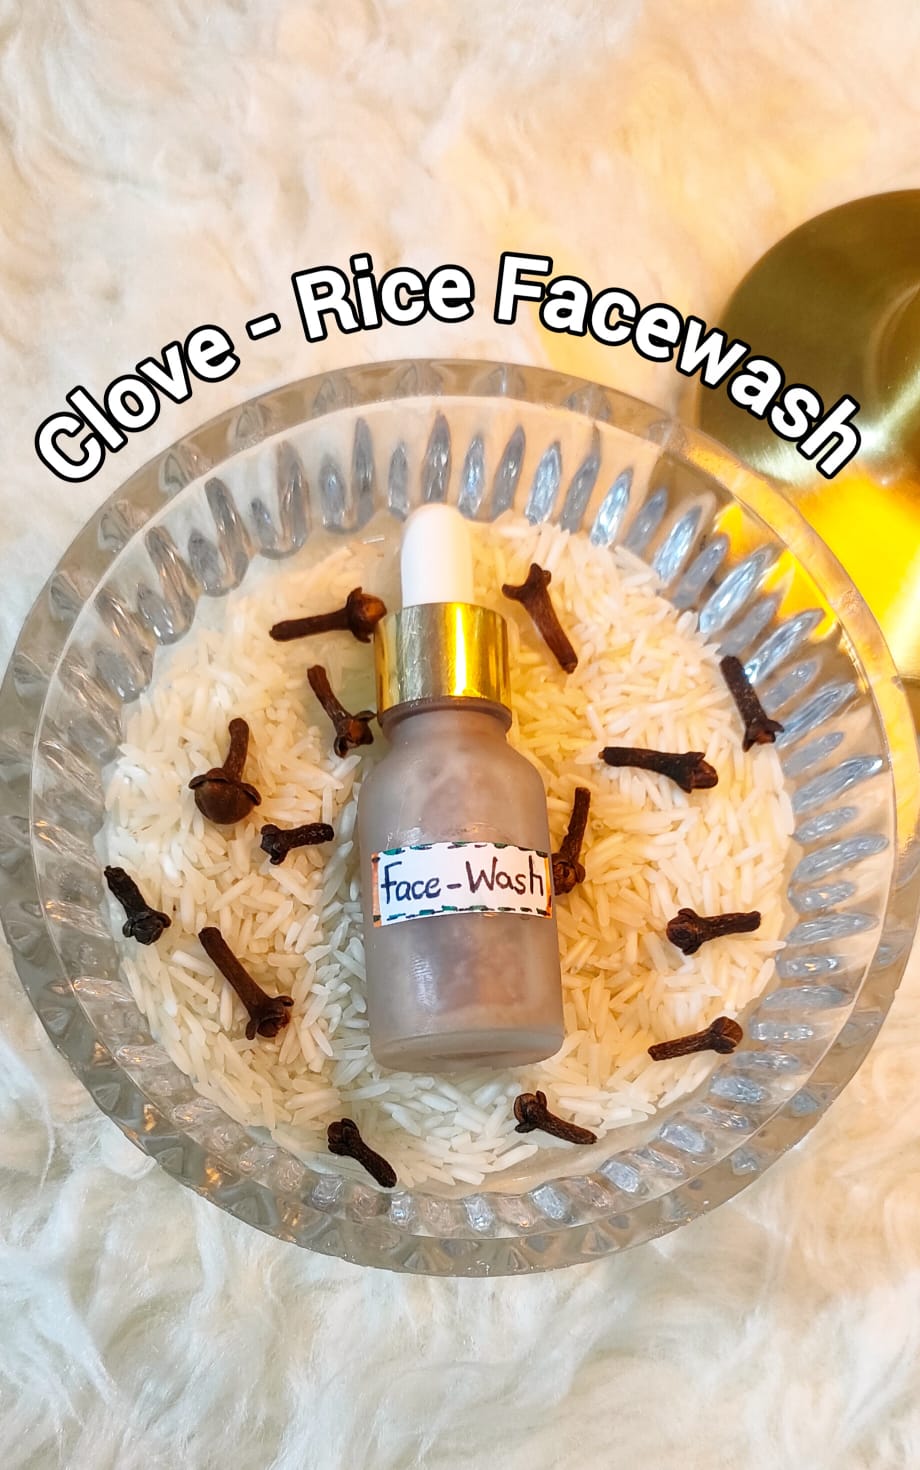
Hey beautiful people! Today I’m going to share a face wash recipe with you that has become a gentle and refreshing part of my skincare routine. I usually think that achieving glass skin was only possible for Korean models or beauty influencers, but trust me – ever since I started using this homemade rice and clove face wash, my open pores, acne marks, and dullness have all started fading away!
I tried this recipe about 3 months ago and honestly,I personally felt my skin texture improving gradually with regular use. My skin became so soft and glowy that people started asking me “Which parlor treatment did you get?” And I would laugh and say – “No parlor, just my homemade face wash!”
STAY UPDATED – Join our WhatsApp channel for daily skincare reminders.
Table of Contents
ToggleProblem We Face
Look, we all have the same story, right? There are so many expensive face washes in the market making tall claims – “glass skin in 7 days”, “pores vanish overnight” – but in reality, it’s just chemicals and wasted money. I had the same problem too.
I had open pores on my face that became even more visible after applying makeup. I had acne marks that just wouldn’t fade no matter how much vitamin C I applied. And my skin texture? Completely uneven and rough. I tried so many things – from expensive Korean products to dermatologist-prescribed cleansers – but nothing was working permanently.
That’s when I thought, why not try natural ingredients? So I did my research and discovered this amazing recipe. Rice and cloves – two simple ingredients that are probably sitting in your kitchen right now!
Ingredients and Their Benefits
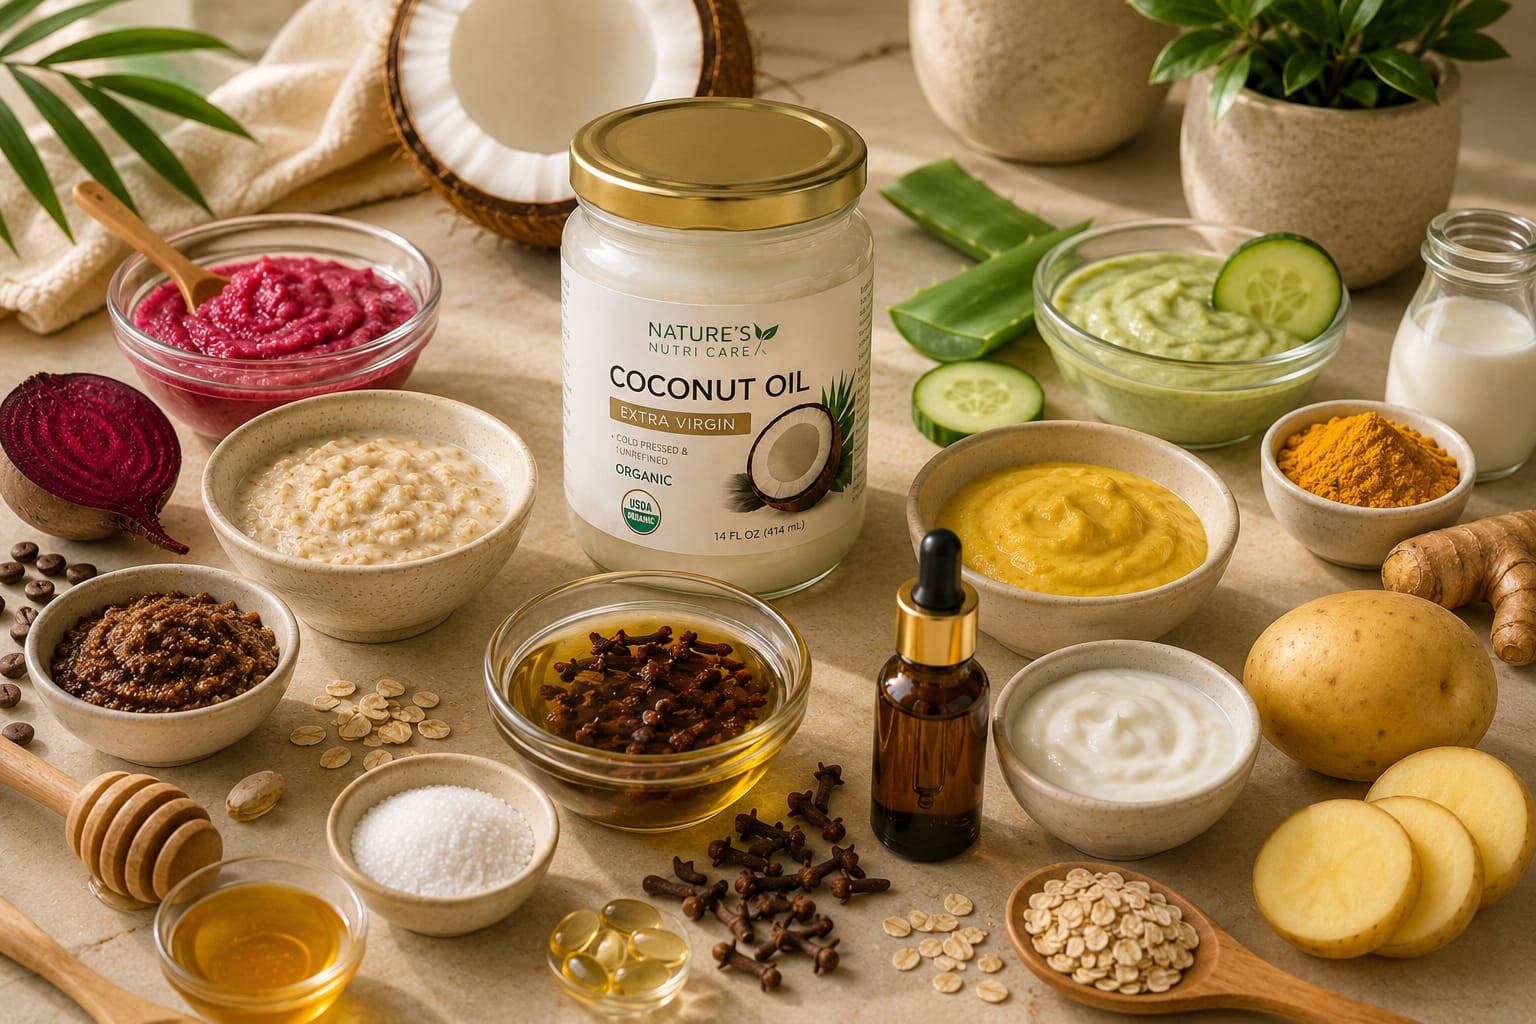
Let’s talk about the ingredients and how they can transform your skin:
1. Rice:
Rice isn’t just for eating, friends! It contains natural enzymes that gently exfoliate the skin. Rice has ferulic acid and allantoin which repair sun damage and help with skin brightening. Japanese and Korean beauty secrets heavily feature rice water – and now you understand why! It removes dead skin cells without damaging your skin with harsh chemicals.
2. Cloves:
We add cloves to our tea, but trust me – they’re amazing for skin too! Cloves have antibacterial and anti-inflammatory properties that fight acne-causing bacteria. If you struggle with pimples, this ingredient is a game-changer for you. Plus, it improves circulation which is essential for healthy, glowing skin.
3. Rose Petal Powder (optional):
Rose petals aren’t just for decoration! They work as a natural toner and soothe the skin. Roses have anti-inflammatory properties that calm redness and irritation. Plus, the fragrance is so soothing that your face wash routine becomes a spa experience!
4. Soap Base:
This ingredient is necessary for foaming and cleansing action. I use a glycerin-based soap base which is gentle and doesn’t strip the skin. It effectively removes dirt and impurities without being harsh.
5. Glycerin:
Glycerin is a natural humectant, meaning it locks moisture into your skin. After cleansing, your face won’t feel tight or dry – instead, it will feel soft and hydrated. This ingredient is especially beneficial for those with dry skin.
Step-by-Step Recipe
Now let’s see step by step how to make this magical face wash:
Ingredients
- Rice – 2 Tablespoons
- Cloves 5-6
- Rose Petal Powder ½ Teaspoon
- Soap Base 1 Tablespoon
- Glycerin 1 Teaspoon
Method
Step 1: First, wash 2 tablespoons of rice thoroughly and boil it in a small pot with water. Boil until the rice is completely soft and mash-able (usually takes 15-20 minutes).
Step 2: Once the rice is well-boiled, blend it in a blender into a smooth paste. The texture should be creamy.
Step 3: Now add cloves and 1 cup of water to this rice paste. Put it in a container and leave it for 3 hours. This time is necessary for the cloves to infuse so their benefits transfer into the rice mixture.
Step 4: After 3 hours, remove the cloves and put this mixture back in a pan to cook on low flame (around 5 minutes).
Step 5: Now add the crushed soap base and keep stirring until it mixes well.
Step 6: After the soap base is mixed, add rose petal powder and cook for 2 minutes more.
Step 7: Turn off the flame and strain the mixture so there are no lumps. You want a smooth consistency.
Step 8: Now when the mixture becomes lukewarm (not hot!), add 1 teaspoon of glycerin and mix it in.
Step 9: Let it cool completely and then store it in a clean, airtight container.
How I Use It
I use this face wash twice a day – morning and night. The method of using it is very simple:
First, I wet my face with water. Then I take a small amount of the face wash and massage it in gentle circular motions on my cheeks, forehead, nose, and chin. I massage for about 1-2 minutes because the rice particles work as gentle exfoliation.
Special tip: When you massage the T-zone area (forehead and nose), spend a little extra time because that’s usually where more oil and dirt accumulate.
After massaging, I rinse thoroughly with lukewarm water. There shouldn’t be any product residue left. Then I gently pat dry with a soft towel and immediately spray clove and rice toner the recipe I already shared (tap to read rice-clove toner) and after toner I applied moisturizer.
Honestly, initially I thought homemade products wouldn’t be that effective, but this face wash and clove toner both cleared all my doubts. Now my morning routine feels incomplete without it!
Important Precautions
Some important things you need to keep in mind:
1. Patch Test is Essential: Before using it for the first time, test it on your jawline or behind your ear. Wait 24 hours and see if there’s any reaction.
2. Storage: This is a homemade product so always keep it in an airtight container in the refrigerator or a cool, dry place. It stays fresh for a maximum of 15 days.
3. Hygiene Matters: Whenever you use it, use clean hands or a clean spoon. Taking it out directly with your hands can cause bacterial contamination.
4. Sensitive Skin: If you have very sensitive skin or active acne, you can reduce the quantity of cloves (start with 2).
5. Keep Away from Eyes: Don’t apply this face wash near the eye area at all. If it accidentally gets in, immediately wash with water.
Frequently Asked Questions
Q1: Is this face wash suitable for oily skin?
Absolutely! I have combination to oily skin type and it works perfectly for me. Both rice and cloves control excess oil without over-drying.
Q2: How long until I see results?
In my case, I felt an improvement in skin texture within 1 week itself. But for that glass skin effect, you’ll need to use it consistently for 3-4 weeks. Be patient!
Q3: Can teenagers use this?
Yes, definitely! These are natural ingredients so it’s safe for teenage acne-prone skin too. But patch testing is necessary.
Q4: What if rose petal powder isn’t available?
You can dry fresh rose petals and grind them, or you can skip it altogether. The product will still be effective.
Q5: Can it remove makeup?
It can remove light makeup but for heavy makeup, first use micellar water or makeup remover, then use this face wash.
Note: Results may vary from person to person
So friends, this was my complete guide! I shared this recipe with you because I know how effective natural skincare can be. If you also want to achieve glass skin without spending thousands on products, then definitely try this. And yes, tell me your results too – I’ll be waiting for your before-and-after stories!
Stay Updated On WhatsApp channel – Join Now


4 thoughts on “DIY Rice and Clove Face Wash – A Gentle Homemade Cleanser”
Very useful website thankyou for that kind of information!
Thank you so much! Glad you found it useful✨
I have been having dark spots and open pores and i have been using a scrub made of coffee, lentil powder,rice powder and tumeric plus honey and carrot oil … although I’ve seen some changes i can tell it takes longer than i expected….so I’mma try this recipe and see if it’ll help
Your routine sounds good, but scrubs usually take time because they work more on the surface.
Just be consistent and don’t forget to follow the exact steps mentioned in the article.
I really hope it works well for you — feel free to share your results 💫