Okay so I have to be real with you — I was not expecting much the first time I mixed this mask. It looked like a bowl of muddy paste and I was genuinely skeptical. But I had been dealing with visibly enlarged pores and those fine lines that were slowly becoming permanent residents on my forehead, and honestly, I was willing to try anything.
What happened after I washed it off? My skin felt tighter. Not in a dry, uncomfortable way — in that satisfying way where you run your fingers over your face and everything just feels smooth. I looked in the mirror and my pores genuinely looked smaller. I thought maybe it was the lighting. But the next morning, my skin still looked better.
That was when I knew this one was worth sharing. So here it is — the full breakdown of my clove face mask, why it works, and how to get the best possible results from it.
Why This Mask Actually Works for Wrinkles and Open Pores
When I first started getting into skincare properly, I kept reading about collagen — how it keeps skin firm, how it breaks down with age and sun exposure, how wrinkles are basically what happens when that structure starts to collapse. And then I came across eugenol, the active compound in clove, and how it is one of the most potent natural antioxidants out there. Antioxidants protect collagen. The connection clicked.
Clove also has natural astringent properties — it genuinely tightens the skin. I could feel it working within the first ten minutes of having the mask on. There is a slight warming sensation, which tells you the eugenol is doing its thing.
The Fuller’s earth in this recipe is what I credit for the pore results. I have always loved Fuller’s earth, but pairing it with clove took things to another level. It goes deep into the pore, pulls out the gunk, and leaves everything looking visibly cleaner and tighter.
The yogurt surprised me the most. I knew lactic acid was a gentle exfoliant, but I did not realise how much of a difference it would make to texture. After a few uses, that rough, uneven surface my skin had started smoothing out. It is subtle but real.
Gram Flour I have been using on my skin since forever — it is one of those things my mother swore by and honestly she was right. It brightens, it evens out tone, and it works beautifully alongside the other ingredients.
And then there is rosehip oil. I added this after reading about its vitamin A and C content and how it supports collagen production. It is also one of the only oils I have found that does not clog my pores — it absorbs beautifully and leaves skin feeling nourished without any greasiness. This is the ingredient that makes the mask feel like actual skincare rather than just a kitchen experiment.
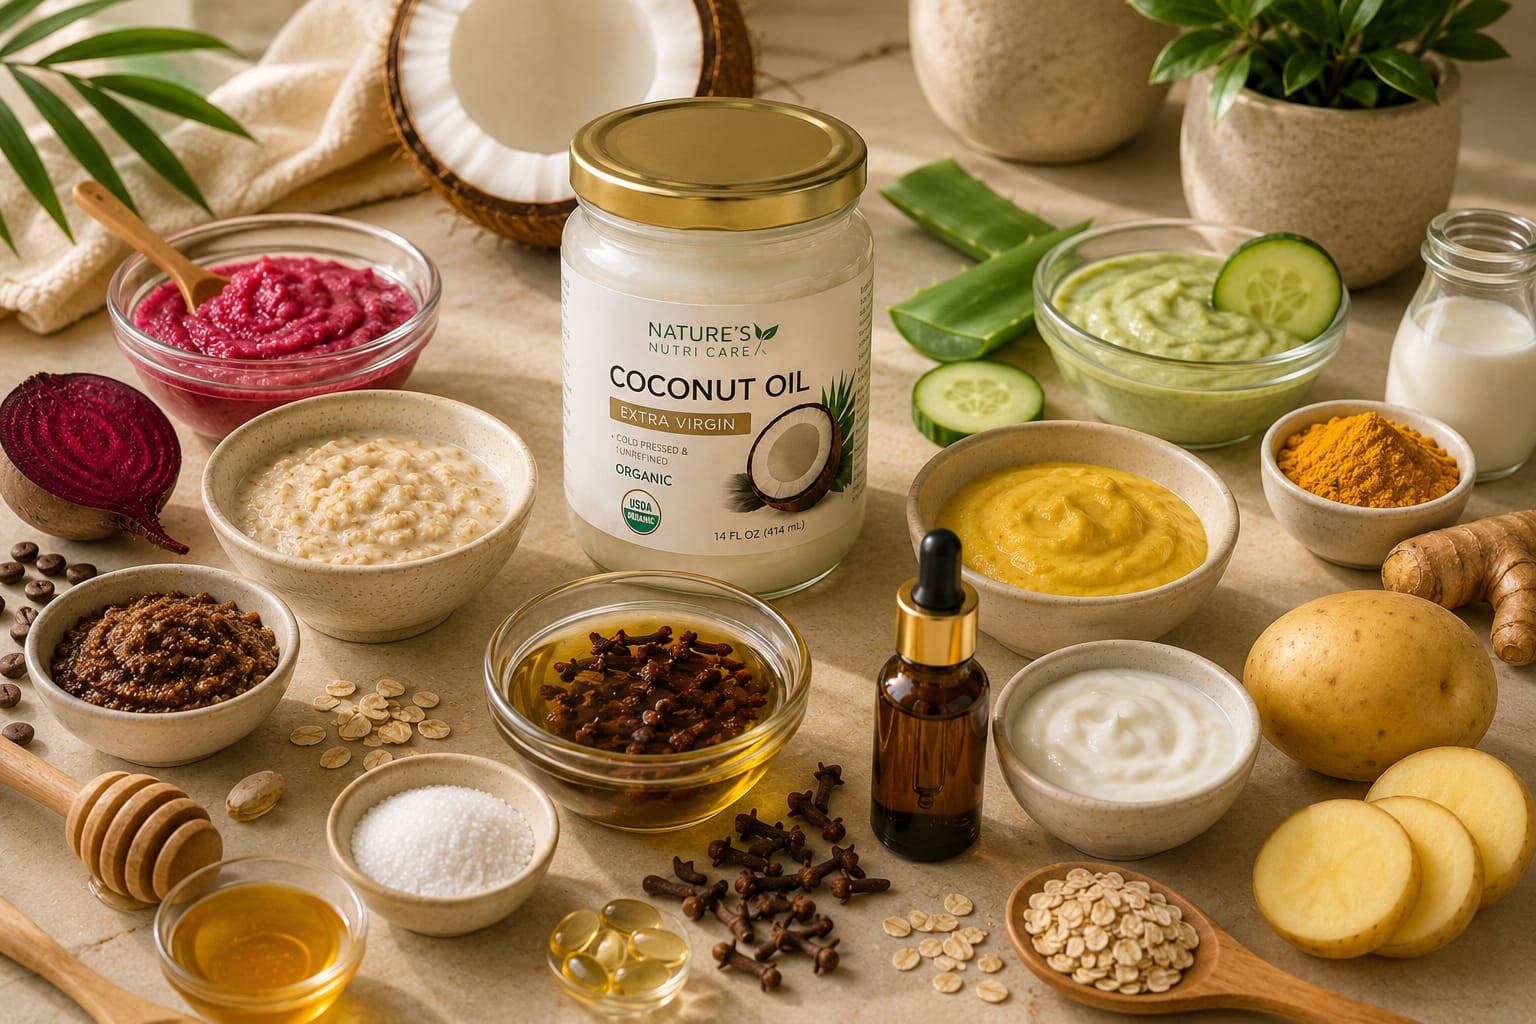
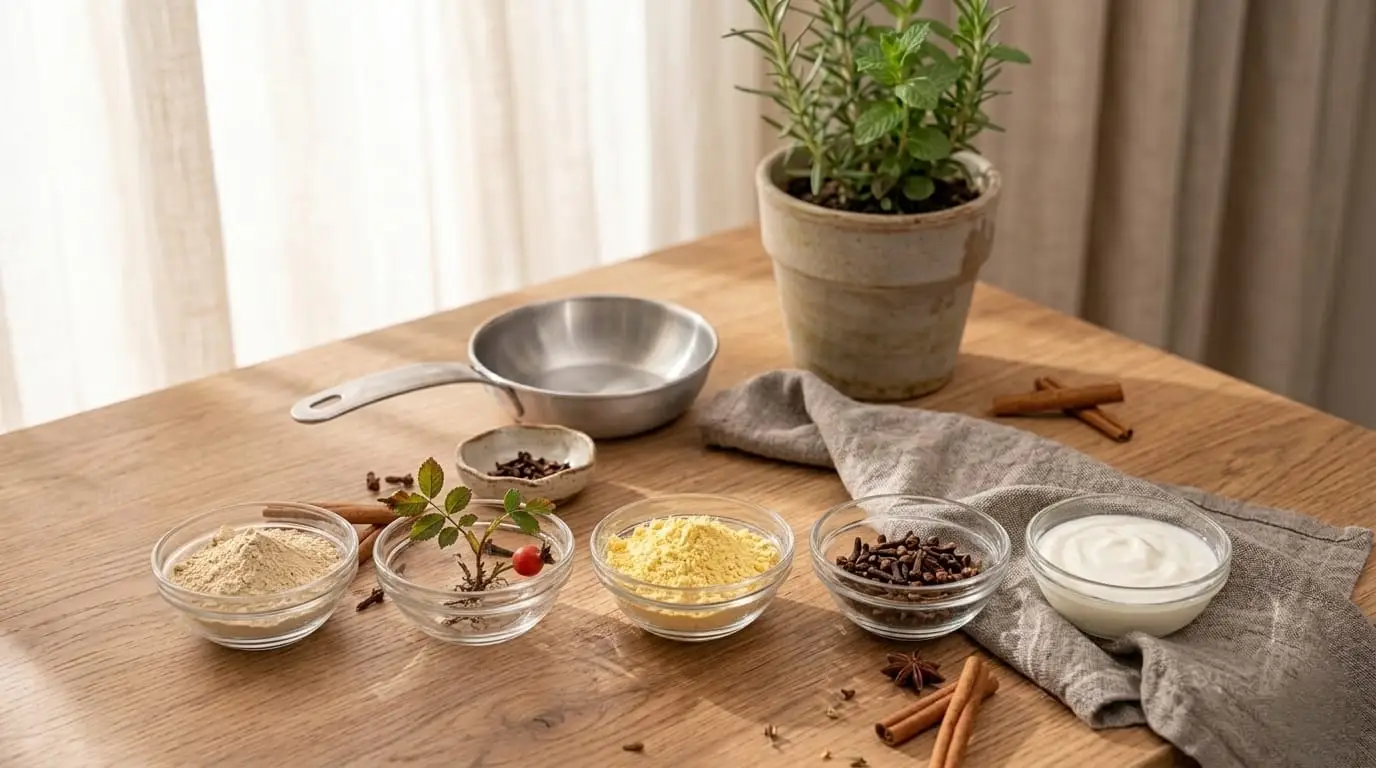
Ingredients
- ½ tsp clove powder —( Do not be tempted to add more. This amount is enough and clove is strong.)
- 1 tbsp plain yogurt — (Full-fat works best. I use homemade dahi when I have it.)
- 1 tsp Fuller’s earth — (The pore-cleansing hero of this recipe.)
- 4–5 drops rosehip oil — (This is what makes it feel luxurious. Do not skip it.)
- 1 tsp Gram Flour — (The brightening ingredient I have trusted since forever.)
Mix all the ingredients in a bowl and make a thick paste.
Join my WhatsApp Channel. That is where I share everything before it goes anywhere else.
How I Use It — Step by Step
I always do this at night. That part matters — I will explain why in a moment.

Cleanse your face properly before you start. The mask works on clean skin, not on top of sunscreen or foundation.
Apply the mask with your fingertips, working it across your face in an even layer. I avoid my under-eye area and lips.
Leave it on for 20 to 25 minutes. I usually do this while I am winding down for the night. You will feel it doing something — there is a gentle warmth and tightening sensation that I have genuinely come to love.
Rinse off with cool water. Take your time, especially around the nose and chin where product tends to sit in creases.
After rinsing, I either splash my face with very cold water or I do a quick icing — I wrap an ice cube in a soft cloth and glide it over my skin for about a minute. Your pores constrict immediately with the cold, they look tighter and smaller right away, and the circulation boost from the temperature change gives you this incredible fresh glow. The first time I did it I genuinely stopped and stared at myself in the mirror. It just works.
Always Follow Up with Niacinamide Serum
This step changed everything for me. Once my skin is dry after the mask, I apply my niacinamide serum and I genuinely think this pairing is why I saw such fast results. After a mask like this, your skin is exfoliated, your pores are clean, and it absorbs everything so much better than usual. Applying niacinamide at this moment means it goes deeper and works harder.
If you already have a niacinamide serum that give you results, keep using it. But if you are looking for something, my personal favourite is The Ordinary Niacinamide 10% + Zinc 1%. It is affordable, no fuss, and it actually delivers. The zinc content helps manage oil and keeps breakouts away, which pairs beautifully with what this mask is already doing.
I do this routine at night because the serum gets uninterrupted hours to absorb without SPF or makeup layering on top. That is when results really compound. You can absolutely do this in the morning too — just make sure you apply sunscreen afterward.
What You Can Expect
Based on my own experience and what I have seen happen consistently when people follow this routine:
- Tighter-looking pores: This was the first thing I noticed. After the very first use, my pores looked visibly smaller. With regular use, this becomes your new baseline.
- Softer, smoother skin texture: The exfoliation from yogurt and Gram Flour makes a real difference. That rough patch I always had on my cheeks — it slowly disappeared over a few weeks.
- Fine lines look less obvious: Clove and rosehip oil both support collagen, and over time you do see the surface of your skin looking more plump and smooth.
- A natural glow: I never expected this but the brightening from Gram Flour and the nourishment from rosehip oil together give your skin this healthy, lit-from-within look.
- Balanced oil: If you are oily or combination, the Fuller’s earth will help control how shiny your skin gets through the day.
- Calmer, more even skin: The anti-inflammatory action of clove helps with redness over time. My skin tone has become noticeably more even.
A Few Things I Have Learned Along the Way
- Use it two to three times a week. I know when something is working you want to do it every day — trust me, I have been there. But over-masking disrupts your skin barrier. The results come from consistency, not frequency.
- Always patch test first if you are trying this for the first time. Put a small amount on your inner arm and wait a day. Clove is potent and it is better to be safe.
- Make it fresh every time. Yogurt-based masks do not keep well, they separate and can grow bacteria quickly. These quantities are so small that mixing a fresh batch each time takes under two minutes.
- Night use is more effective. Your skin repairs itself while you sleep, so everything you put on it in the evening works harder.
- Do not skip the ice step. I know it sounds like extra effort but it takes sixty seconds and it makes a noticeable difference to how your results look and feel.
Precautions — Please Read These
I want you to have a great experience with this mask, so a few important things:
- Do not increase the clove powder. Half a teaspoon is the right amount. More does not mean better results — it means a higher chance of redness or irritation.
- If you have sensitive skin, start with just a pinch of clove and build up from there over a few sessions.
- Avoid this mask on active breakouts and acne. Let your skin heal first, then introduce the mask.
- Keep it away from your eyes. Clove near the eye area is genuinely uncomfortable.
- If you feel intense burning or notice swelling, wash it off immediately with cool water. Some warmth is normal — burning is not.
You can also try out the Korean rice gel cream remedy at night for tight and glowing skin.
Which Skin Types Will Love This?
Honestly, most people can use this. But the experience varies:
- Oily and combination skin: This was designed for you. The Fuller’s earth controls oil like nothing else, and you will see pore results fast.
- Normal skin: You will notice the glow and the texture improvement most clearly. Use it two to three times a week and enjoy it.
- Dry skin: The mask can feel drying because of the clay. Follow up with a good hydrating serum and moisturiser and limit use to once a week.
- Sensitive skin: Go slow. Use a tiny amount of clove to start, do your patch test, and stop if anything feels off. Your skin will tell you.
Questions I Get Asked All the Time
How quickly will I see results?
You will notice your skin looking and feeling better after the very first use — the texture feels smoother and pores look tighter. For more lasting changes to fine lines and pore size, give it four to six weeks of regular use. Good things take a little time.
Can I use this in the morning?
Yes, you can. I personally prefer nights because the serum gets to work undisturbed for hours. If you do use it in the morning, apply SPF afterward — rosehip oil can make your skin slightly more sensitive to sun.
I do not have yogurt — what can I use instead?
Plain coconut yogurt works well if you want to keep it dairy-free. Aloe vera gel is another option — it will not give you the lactic acid exfoliation but it is incredibly soothing and still makes a good base.
Can I skip the rosehip oil?
You can, but I would really encourage you not to. It is the ingredient that makes this feel like real skincare, and it does a lot of the anti-aging heavy lifting. If you do not have it, jojoba oil or a few drops of vitamin E are decent alternatives.
My skin goes a little red after washing off the mask — should I be worried?
Mild redness right after removing the mask is normal, especially with clove. It usually fades within fifteen to twenty minutes. If it is intense, accompanied by itching, or does not go away — that is your skin telling you to stop using it.
Can I save leftover mask for tomorrow?
Please do not. Yogurt-based recipes go off quickly and can harbour bacteria. The amount used here is intentionally small so that making a fresh batch each time is not a hassle. Two minutes, that is all it takes.
Is this safe during pregnancy?
Always check with your doctor before starting any new skincare routine during pregnancy. Clove in particular is a potent ingredient and it is worth getting a professional opinion first.
I share a lot of skincare things here but this mask holds a genuinely special place in my routine. It is one of the first DIY recipes that actually delivered on what I was hoping for — and it did it with ingredients I already had at home.
The combination of clove, Fuller’s earth, yogurt, rosehip oil, and Gram Flour is not random — every single ingredient has a reason to be there, and together they work better than they would individually. Add the niacinamide serum afterward and you have a routine that genuinely competes with expensive products.
If you try this, I really want to know how it goes for you. Results start showing up quickly and it is one of those things where consistency just keeps making things better. Your skin deserves this kind of attention — and it does not have to cost a lot to give it.
Give it a few weeks and then come back and tell me what changed. I have a feeling you will be pleasantly surprised.